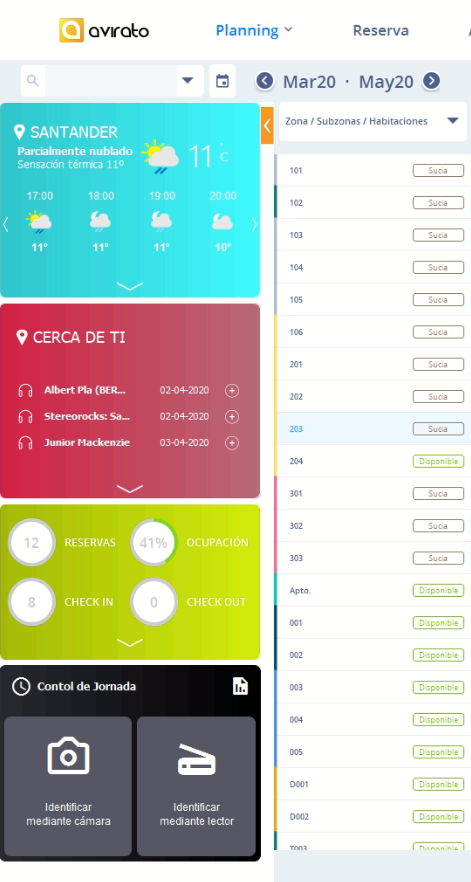
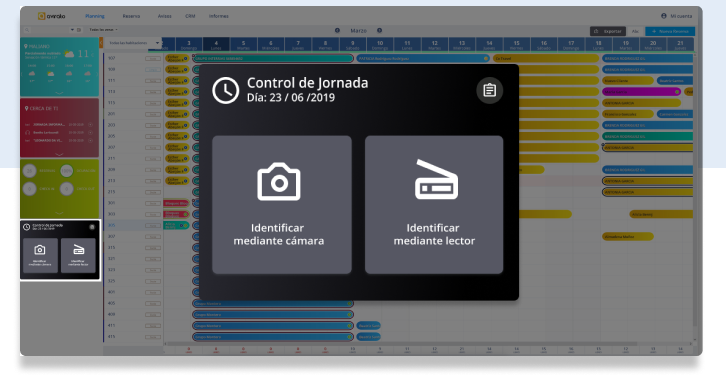
First of all, click on the Identify by camera button.
1. The worker’s identification will be done through their identity card, either through a WebCam or the compatible document reader.
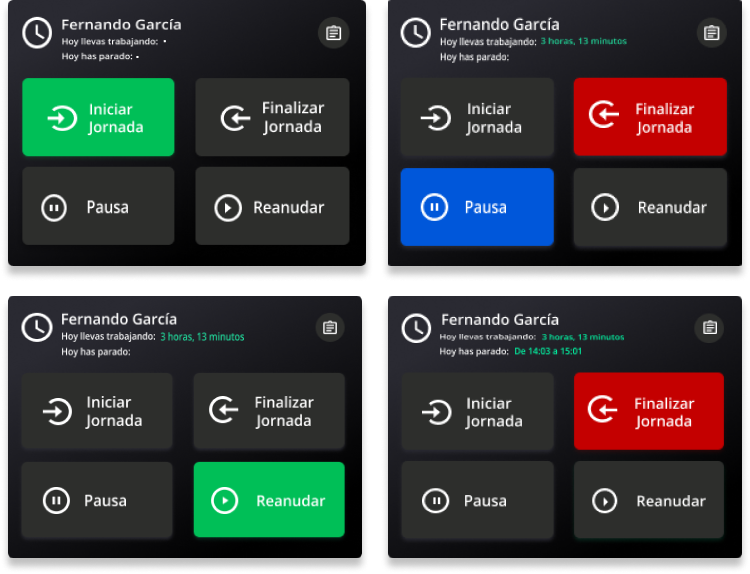
2. The system will identify the workers and their current status.It displays the following options:
Start shift: The first identification of the worker.
Break: When the system identifies the worker started the working day but has not taken their break.
Resume shift: when the break is the last detected status.
End shift: When the system identifies the worker has started the working day.
You can check or download the working day control of each worker.

To do this, click on the icon on the upper-right of the option Working Days Control, this opens a window with the worker’s list and their working hours.
The current month will always be displayed by default, but you can check a different month by using the back and forward arrows.

In the upper band you can see the day of the week next to the number of the corresponding month. In the vertical band there are the registered workers. The values will be represented on the right over the total working day.
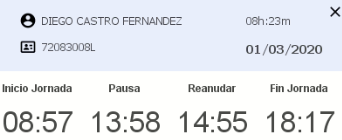
If you click on the worked hours, a pop-up window will open where you will see the hours of entry, break, resuming and end of working day.
All the information collected in this section can be exported to Excel with the whole month view. All you have to do is click on the export button and give the file a name.